

Optimize Windows 11 for Gaming on Low-End PCs , Is your game stuttering on Windows 11?
Are you experiencing:
- FPS drops
- Input lag
- Freezing during gameplay
- High CPU usage
- Sudden frame spikes
If you’re gaming on a low-end PC with 4GB or 8GB RAM, Windows 11’s default settings can hurt performance.
The good news?
You can optimize Windows 11 for gaming safely — without installing risky “FPS booster” software.
This guide walks you through step-by-step gaming optimization methods that actually work.
Why Gaming Is Slow on Low-End PCs with Windows 11
Windows 11 includes:
- Background apps
- Telemetry processes
- Startup programs
- Visual effects
- Xbox services
- Power-saving restrictions
On high-end PCs, this is manageable.
On budget systems with:
- Integrated graphics (Intel HD / UHD)
- Older CPUs
- 4GB or 8GB RAM
…it causes performance bottlenecks.
If your PC feels slow outside of gaming too, start with:
👉 How to Speed Up Windows 11
How to Optimize Windows 11 for Gaming on Low-End PCs (Step-by-Step)
Step 1: Enable Game Mode
Windows 11 includes a built-in Game Mode that prioritizes gaming processes.
How to Enable Game Mode:
- Open Settings
- Click Gaming
- Select Game Mode
- Turn it ON
Game Mode reduces background tasks while gaming.
It won’t magically double FPS — but it improves stability.


Step 2: Disable Startup Apps Before Gaming
Many apps launch at startup and continue running during gameplay.
Common performance drains:
- Discord auto-start
- Cloud sync apps
- Adobe services
- Update managers
Disable them:
- Right-click Start
- Open Task Manager
- Go to Startup
- Disable unnecessary apps
Full guide here:
👉 Disable Startup Apps in Windows 11
Reducing startup load frees RAM for games.

Step 3: Remove Background Apps
Background apps compete for CPU and memory.
Disable unnecessary background apps:
Settings → Apps → Installed Apps → Advanced Options → Background Permissions → Never
Detailed tutorial:
👉 Remove Background Apps in Windows 11
This is especially important on 8GB RAM systems.
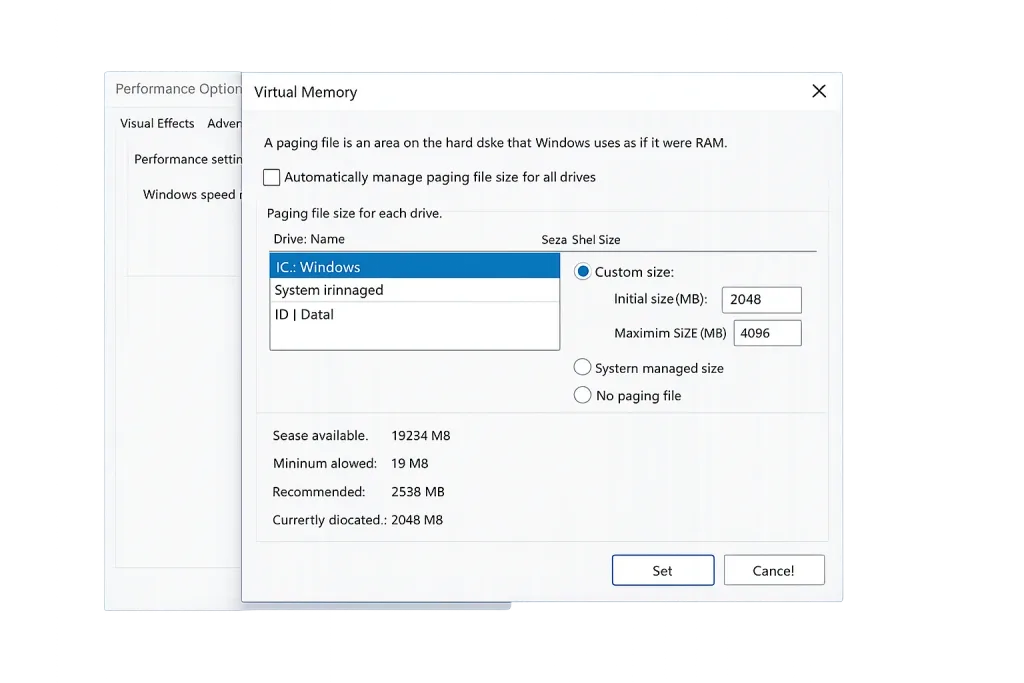
Step 4: Reduce Visual Effects
Windows animations consume GPU resources — even while gaming.
To disable visual effects:
- Press Windows + R
- Type
sysdm.cpl - Go to Advanced → Performance → Settings
- Select “Adjust for best performance”
You can also turn off transparency:
Settings → Personalization → Colors → Disable Transparency
Full breakdown:
👉 Reduce Visual Effects in Windows 11
This improves responsiveness and can reduce micro-stutters.

Step 5: Update Graphics Drivers
Outdated GPU drivers are a major cause of FPS drops.
Update your graphics drivers directly from:
- Intel
- NVIDIA
- AMD
Or via:
Settings → Windows Update → Optional Updates
Full tutorial:
👉 Update Drivers in Windows 11
Updated drivers improve compatibility and stability.


Step 6: Optimize Power Settings for Maximum FPS
Windows may throttle CPU performance in Balanced mode.
Switch to High Performance:
- Open Control Panel
- Go to Power Options
- Select High Performance
Advanced users can also:
- Set Minimum processor state to 100%
- Set Maximum processor state to 100%
Detailed guide:
👉 Optimize Power Settings in Windows 11
This prevents CPU throttling during gaming.
Step 7: Disable Xbox Game Bar (Optional)
Xbox Game Bar runs background services.
If you don’t use it:
- Go to Settings
- Click Gaming
- Select Xbox Game Bar
- Turn it OFF
This reduces background load slightly.
Step 8: Fix 100% Disk Usage Before Gaming
If your disk is at 100%, gaming performance will suffer.
Fix common causes:
- Disable SysMain
- Reduce indexing
- Remove startup overload
Full solution:
👉 Fix 100% Disk Usage in Windows 11
Disk bottlenecks can cause severe stuttering.
Step 9: Optimize Windows 11 for 4GB RAM Gaming
If you’re gaming on 4GB RAM, performance tuning becomes critical.
Read:
👉 Best Windows 11 Settings for 4GB RAM
Reducing background memory usage is essential.
Step 10: Lower In-Game Settings (Important)
Windows optimization helps — but game settings matter too.
Lower:
- Shadow quality
- Anti-aliasing
- Texture resolution
- Background detail
Set resolution to 720p if needed.
Optimization is about balance.
Manual Optimization vs 1‑Click Gaming Optimization
You can manually follow all steps above.
But manual tuning:
- Takes 30–60 minutes
- Requires checking multiple system areas
- Is easy to forget before gaming
The Win11Fly 1‑Click Optimization Script automatically:
✅ Reduces background services
✅ Adjusts performance settings
✅ Optimizes startup behavior
✅ Tweaks power configuration
✅ Applies safe gaming-friendly settings
Takes under 60 seconds.
👉 Download the Windows 11 Optimization Script
Frequently Asked Questions
Does Windows 11 reduce FPS compared to Windows 10?
On low-end hardware, default Windows 11 settings can use more background resources — but proper optimization resolves this.
Is Game Mode enough?
Game Mode helps, but deeper system optimization delivers better results.
Will optimization increase FPS?
It improves stability and reduces drops. FPS gains depend on hardware.
Is debloating good for gaming?
Yes — reducing background activity improves performance consistency.
👉 Read: How to Debloat Windows 11 Safely
Final Thoughts
Gaming on Windows 11 doesn’t require expensive hardware.
It requires smart configuration.
By:
- Disabling startup apps
- Removing background apps
- Updating drivers
- Adjusting power settings
- Reducing visual effects
- Fixing disk usage
You can significantly improve gaming performance on low-end PCs.
If you want a faster method, the 1‑Click Script safely automates the most effective gaming optimizations.
You don’t need a new GPU.
You need better optimization.
⚡ AUTOMATE THIS ENTIRE BLUEPRINT IN 10 SECONDS
Our safe, lightweight optimization utility condenses this entire
guide into a single script. It triggers an automated safety restore
point, strips structural telemetry, purges system bloatware, and
optimizes memory allocation with zero manual effort required.
💰 Secure Lifetime Access for Only $5
👉 [ Download the 1-Click Windows 11 Optimizer Now ]